Difference between revisions of "Portaneo"
From Amahi Wiki
(New page: After Installing Portaneo the first thing you do is to go to http://portaneo/ user: admin pass: hdaadmin There you go, first you should go to Users->User management->users->Add User No...) |
|||
| Line 10: | Line 10: | ||
Now you just create a new user for yourself. | Now you just create a new user for yourself. | ||
Select the group User instead of Admin. | Select the group User instead of Admin. | ||
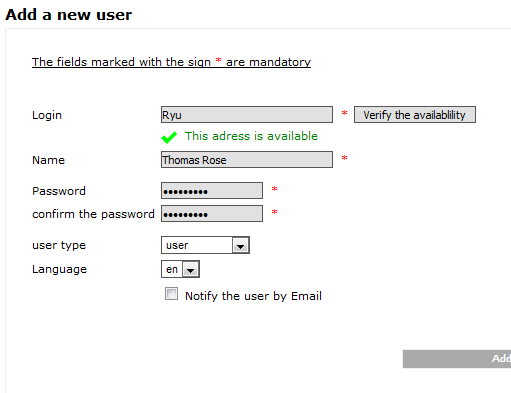
| + | [[Image:com.amahi.webapps.portaneo.wiki.screenshot.adduser.png]] | ||
Done :) | Done :) | ||
Revision as of 21:57, 6 May 2009
After Installing Portaneo the first thing you do is to go to
user: admin pass: hdaadmin
There you go, first you should go to Users->User management->users->Add User
Now you just create a new user for yourself.
Select the group User instead of Admin.
 Done :)
Advanced (i recommend this): After that you should go to Configuration->General Settings and scroll down to the end of the page. There you see 2 fields! Please insert eMail-adresses you own there.
If you want to, you can edit the deeper configurations of the portal at the Configuration-Menu!
Using
After creating a user you can log off of the admin-account. Then you login with your just created user-details. Et Voîla! Your personal portal ;)
More infos about portaneo at http://portaneo.com/
