XPBackups
If you use Windows XP Professional, it comes with a straightforward way to backup your files (not the OS) regularly to the HDA.
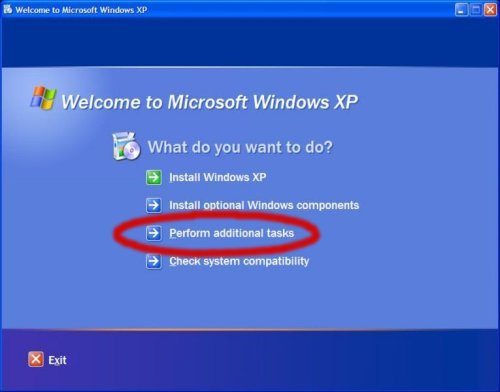
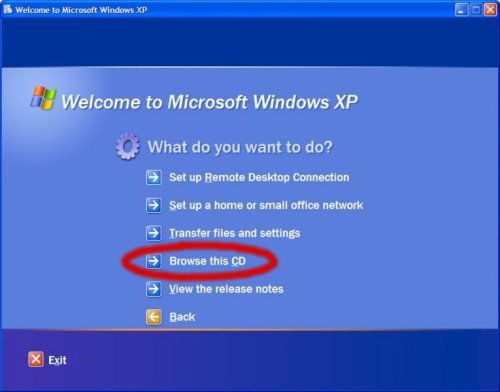
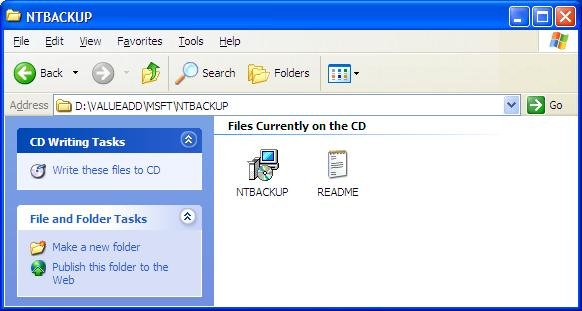
If you are an XP Home user, the original install disk is needed. Just insert the disk and auto-run should bring up the XP install menu. If this does not happen, open My Computer, right-click the drive that contains the disk, and select AutoPlay. When the install menu comes up, select Perform Additional Tasks. Next select Click Browse this CD. Then, in Windows Explorer, double-click the ValueAdd folder, then Msft, and then Ntbackup. Finally, double-click Ntbackup.msi to install the Backup utility.
To use it, go to the Backup and Restore Center (Start -> All Programs -> Accessories -> System Tools -> Backup):
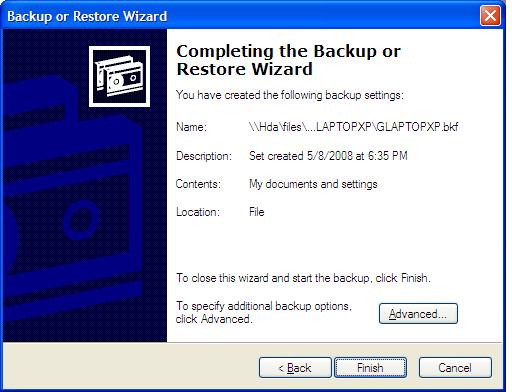
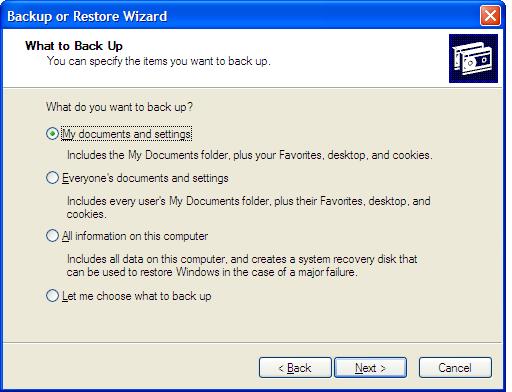 All you have to specify is that you want to backup to the network, e.g. to
\\hda\files\backups\[machine]
Where [machine] is your machine name.
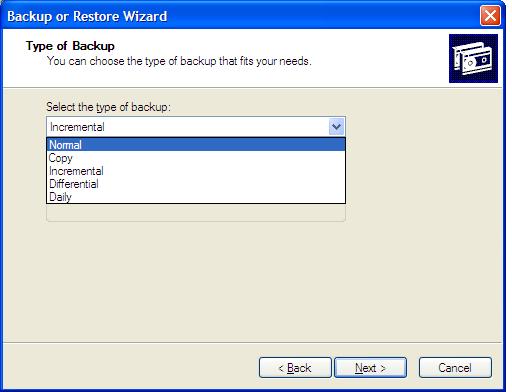
The default backup is a Normal Backup, which backs up all selected files and marks the local files as backed up. You can select the type of backup that you need by selecting the Advanced tab.
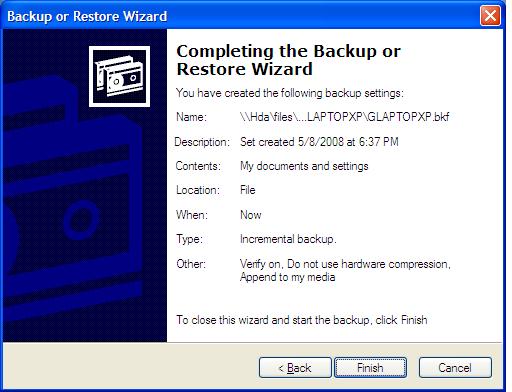
While in the Advanced option, you can also select whether to verify the backup, whether to use hardware compression, and how to append the backup file.
In it, you can configure settings to make XP do backups to your HDA daily, weekly or monthly. This is done by going to Start -> All Programs -> All Programs -> Accessories -> System Tools -> Scheduled Tasks. If you have never done this, you will have to create a new scheduled task.
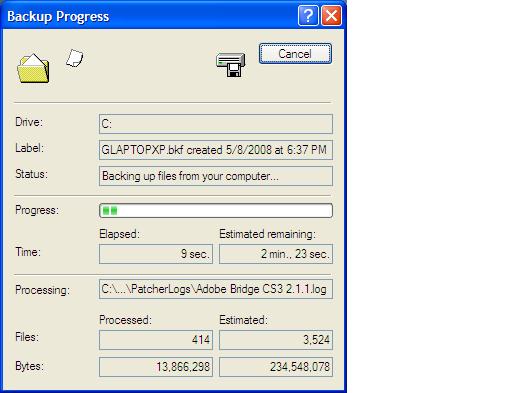
The first time it runs , you may select whether it will back up all your files now or later.
It saves your files in the form of .bkf files. Unlike Vista, you must use "Restore Files" in the Backup program.
