Difference between revisions of "Amahi Netboot for noobs"
| Line 23: | Line 23: | ||
:<ins>Sounds great, what's the catch?</ins> | :<ins>Sounds great, what's the catch?</ins> | ||
| − | + | *good pxe or network booting information around the web is scattered. | |
| − | |||
Revision as of 13:23, 27 December 2011

|
Work In Progress |
|---|---|
| This article is currently undergoing major expansion or restructuring. You are welcome to assist by editing it as well. If this article has not been edited in several days, please remove this template. |
- What is Netboot?
- Amahi-netboot is the package that allows you to use your amahi machine as a PXE/Network Boot/tftp server with minimal configuration.
- What can it do?
- Alot really, you can
- run live cds
- install just about any OS(Linux, BSD, even Win XP/Vista/7)
- Run Utility programs and cds (hiren's, ultimate boot cd)
- All without burning cds/dvds or using usb drives!
- Sounds great, what's the catch?
- good pxe or network booting information around the web is scattered.
Assumptions:
- You have a working amahi installation and can access the amahi Dashboard
- You have a working "test" system running windows or another desktop os
- Both are networked using wired ethernet cables, at least while network booting
- You have the urge to skip anything that has a box with commandline functions but are willing give it a try.
- Note: I've only been using amahi for a few weeks, so I'm not an expert by any means on linux, netbooting, or amahi and I don't work in the field. If I can get this running I think anybody can.
Contents
Step 1: Install amahi-netboot
From the console or putty login to your hda as root and enter
| bash code |
|---|
yum install amahi-netboot
|
*
Step 2: Setup your "test" computer
It's useful to use a virtual machine on your "test" computer so you don't have to reboot every time.
On the "test" machine Install latest Virtualbox & extensionpack and 7zip if you don't have them. I find notepad++ and putty handy also. https://www.virtualbox.org/wiki/Downloads
Step 3: Create a "test" Virtualmachine
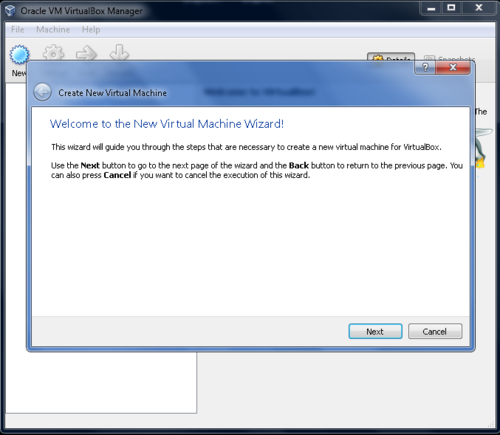
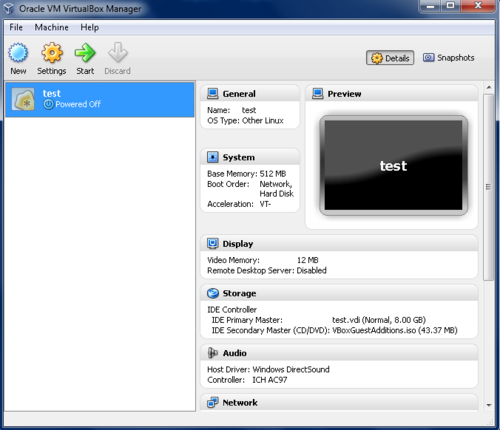
Click New Button - Next->
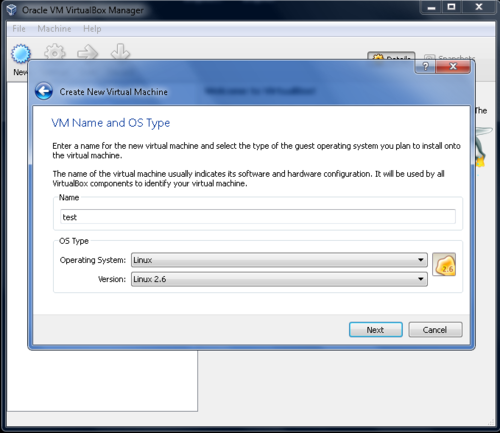
Name=test-> OS=Linux-> Version=Linux 2.6->
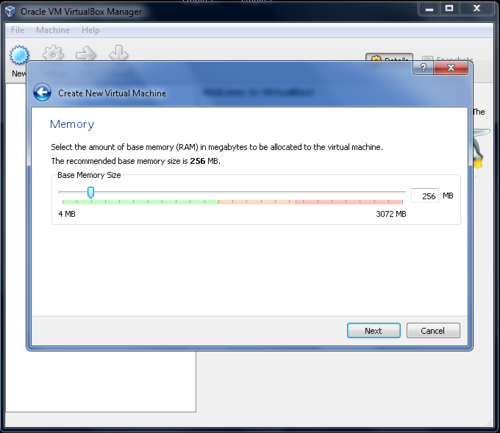
Base memory size=depends on your system default=256 change to 512 or higher
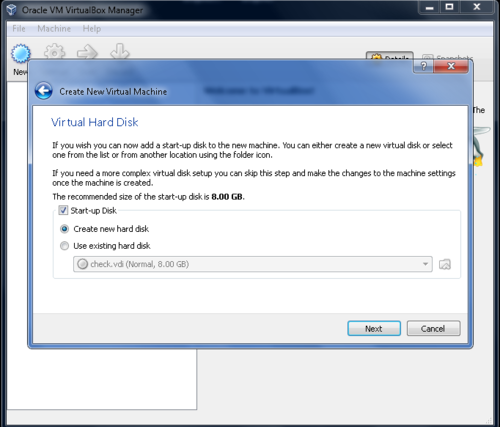
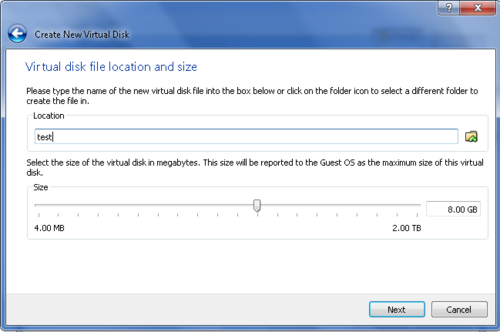
Create new disk= default 8Gb is fine->Next
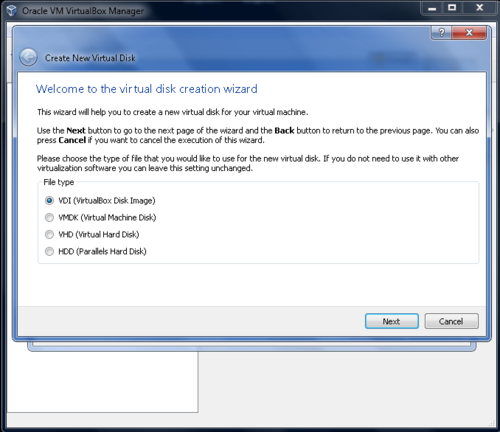
VDI checked = default is fine ->Next
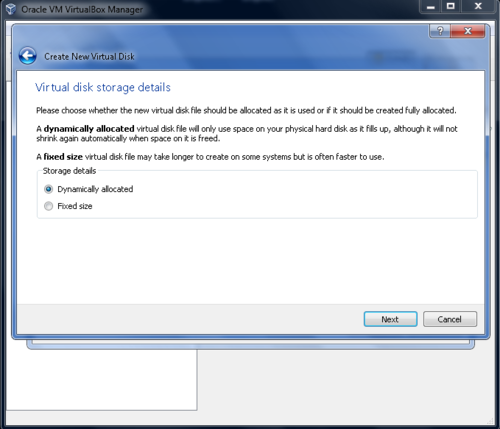
Dynamically allocated=default is fine->Next
Virtual Disk file location and size = default is fine->Next
Summary->Create
Step 4: Settings for "test" vm
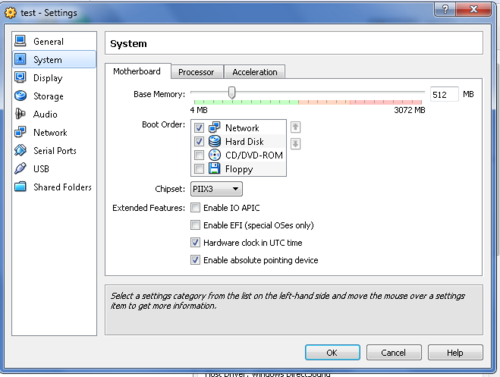
->Settings->System->Motherboard->Bootorder->
Check Network box and click up arrow to bring it to top
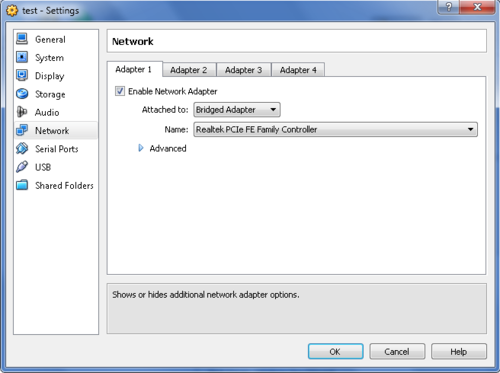
Also ->Settings->Network->Adapter1->Change "NAT" to "Bridged adapter"
Step 5: Start your "test" vm
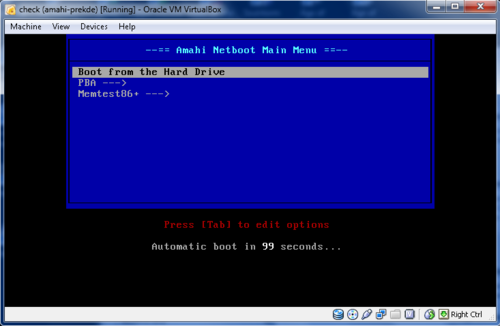
You should see it startup and boot to the amahi-netboot menu.
Step 6: Works
Go to Tutorial #2
If not,
*Double-check virtual machine settings
*Reboot your server and start test virtual machine again
*Go to forums and ask for help. My original post is here:
