Difference between revisions of "Amahi Netboot for noobs"
| Line 1: | Line 1: | ||
| − | |||
| − | |||
| − | |||
| − | |||
| − | |||
| − | |||
| − | |||
| − | |||
| − | |||
| − | |||
| − | |||
| − | |||
:<ins>What is Netboot?</ins> | :<ins>What is Netboot?</ins> | ||
;::Amahi-netboot is the package that allows you to use your amahi machine as a PXE/Network Boot/tftp server with minimal configuration. | ;::Amahi-netboot is the package that allows you to use your amahi machine as a PXE/Network Boot/tftp server with minimal configuration. | ||
Revision as of 13:29, 27 December 2011
- What is Netboot?
- Amahi-netboot is the package that allows you to use your amahi machine as a PXE/Network Boot/tftp server with minimal configuration.
- What can it do?
- Boot live cds
- Install just about any OS(Linux, BSD, even Win XP/Vista/7)
- Run Utility programs and CDs (Hiren's, Ultimate Boot CD)
- All without burning CDs/DVDs or using USB flash drives!
- Sounds great, what's the catch?
- Good PXE or network booting information around the web is scattered.
Assumptions:
- Working Amahi HDA
- "test" system running windows or another desktop OS.
- Both are networked using wired ethernet cables, at least while network booting.
NOTE: I've only been using amahi for a few weeks, so I'm not an expert by any means on linux, netbooting, or amahi and I don't work in the field. If I can get this running I think anybody can.
Contents
Step 1: Install amahi-netboot
From the console or putty login to your hda as root and enter
| bash code |
|---|
yum -y install amahi-netboot
|
Step 2: Setup your "test" computer
It's useful to use a virtual machine on your "test" computer so you don't have to reboot every time.
On the "test" machine Install latest Virtualbox & extensionpack and 7zip if you don't have them. I find notepad++ and putty handy also. https://www.virtualbox.org/wiki/Downloads
Step 3: Create a "test" Virtualmachine
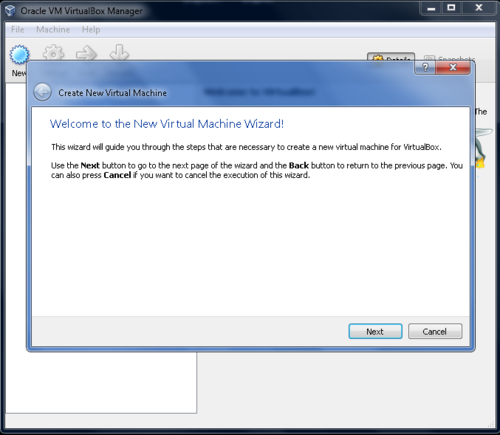
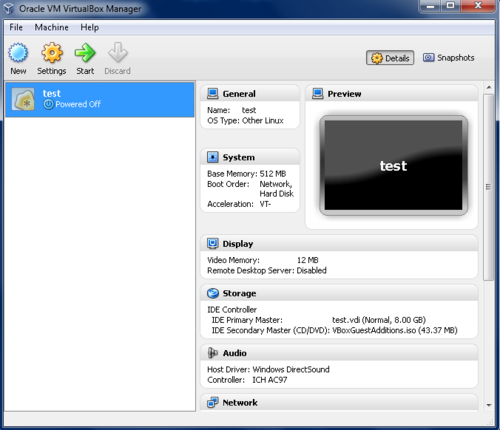
Click New Button - Next->
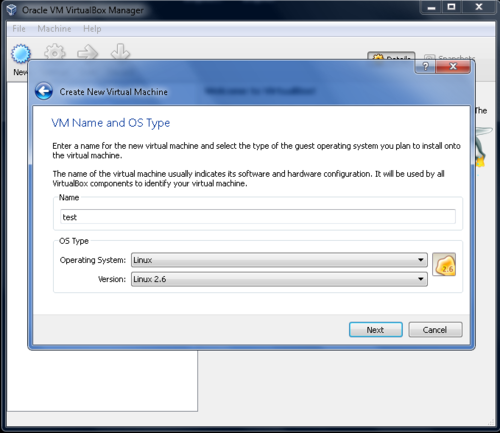
Name=test-> OS=Linux-> Version=Linux 2.6->
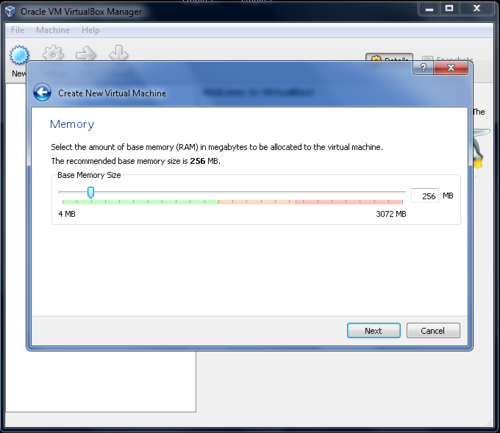
Base memory size=depends on your system default=256 change to 512 or higher
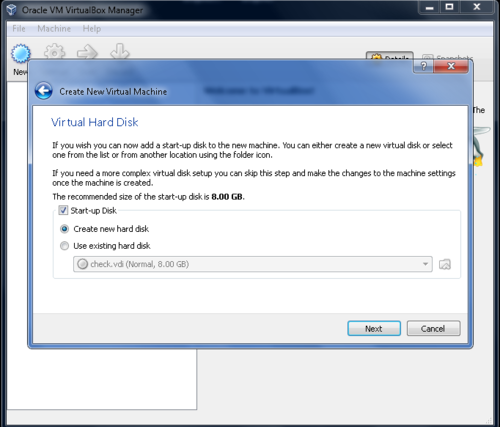
Create new disk= default 8Gb is fine->Next
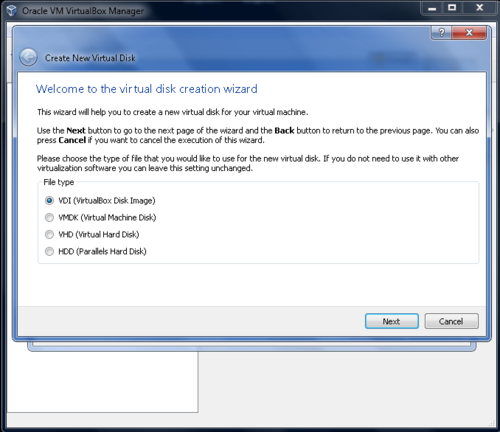
VDI checked = default is fine ->Next
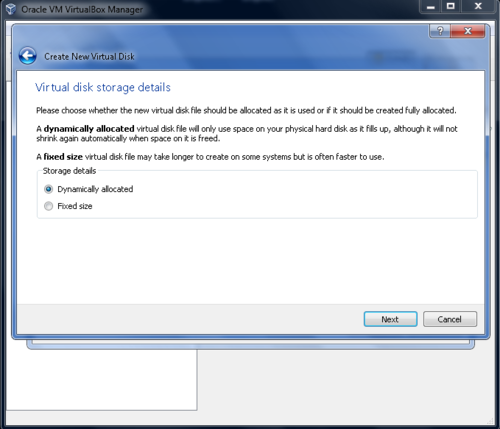
Dynamically allocated=default is fine->Next
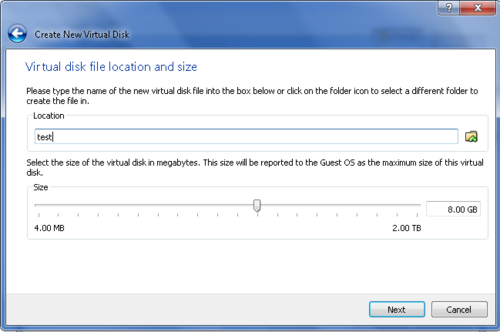
Virtual Disk file location and size = default is fine->Next
Summary->Create
Step 4: Settings for "test" vm
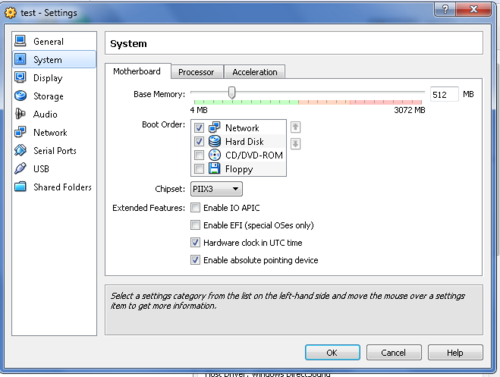
->Settings->System->Motherboard->Bootorder->
Check Network box and click up arrow to bring it to top
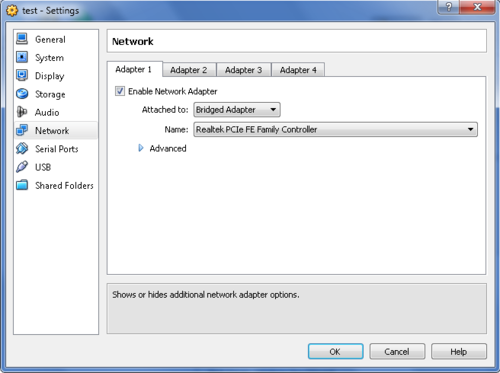
Also ->Settings->Network->Adapter1->Change "NAT" to "Bridged adapter"
Step 5: Start your "test" vm
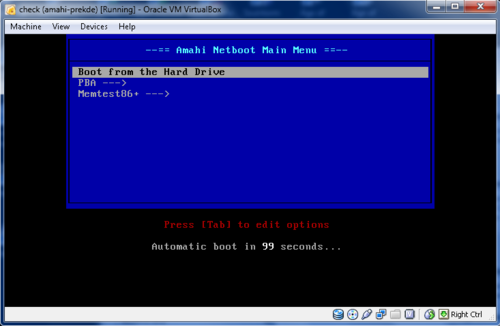
You should see it startup and boot to the amahi-netboot menu.
Step 6: Works
Go to Tutorial #2
If not,
- Double-check virtual machine settings
- Reboot your server and start test virtual machine again
- Go to forums and ask for help. My original post is here
