Fedora 21 Server Install
Install Fedora 21
This is only recommended for cases where the Minimal (CD) install does not work well (e.g. if your hardware needs extra drivers).
- Download the Fedora 21 Server DVD for 64 bit (1.91GB), preferably using torrents
- Fedora 21 Server 64-bit (torrent)
- Fedora 21 Server 64-bit (http)
- Burn the ISO to DVD (or or USB), insert the media into your server, and reboot the system.
- These instructions below will guide you through the Fedora 21 Server DVD installation with screen shots and commentary. Click [Expand] to show a screen shot and [Collapse] to hide it.
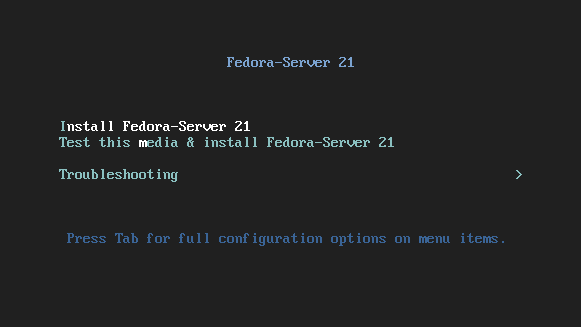
Boot Screen
- Select Install Fedora-Server 21

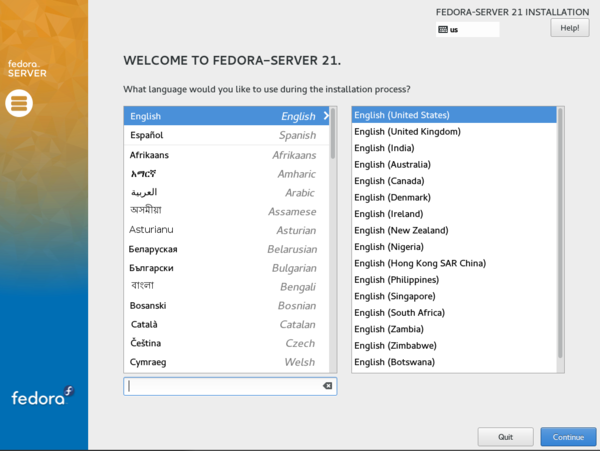
Language Selection
- Choose desired language and select Continue

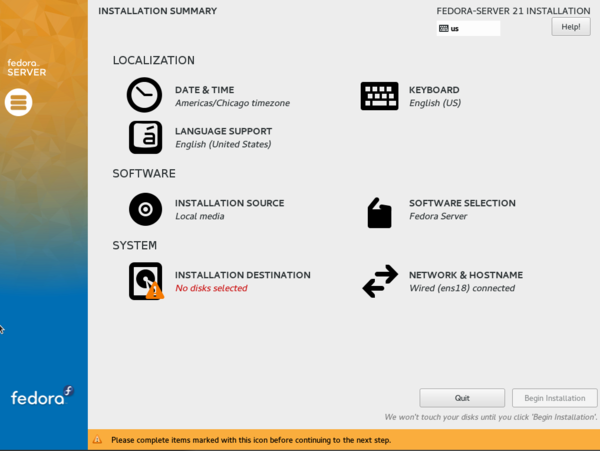
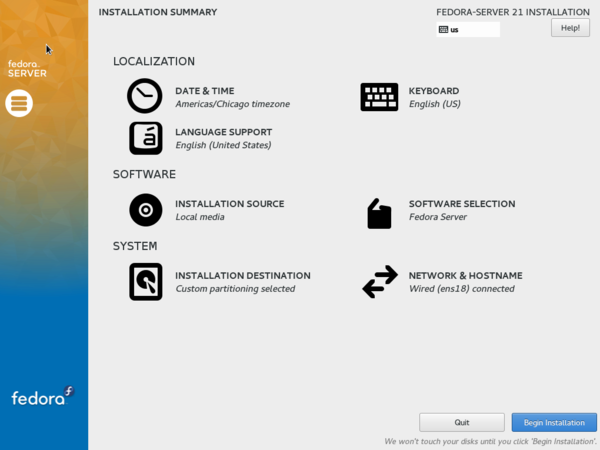
Installation Summary
- Change the KEYBOARD or TIME & DATE to match your locale if needed.
- Once complete, next choose INSTALLATION DESTINATION. This is where you will select the disk drive to use.

Disk Drive Setup
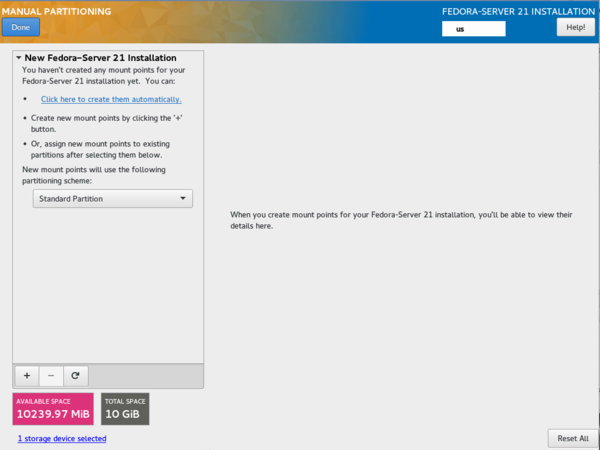
- Choose the disk drive you want to use for the Fedora installation. If you have more than one disk drive connected, DO NOT select them at this time. You will notice a check mark on the disk drive selected. Select I will configure partitioning and then choose Done.

- Should you have existing partitions on the disk drive you will be using for the Fedora 23 installation, they will have to be removed.
- You should see the existing partition about half way down the screen.
- Choose it to expand and display the existing partitions for deletion. Select the first partition in the list followed by the minus (-) sign.
- When prompted Are you sure you want to delete all the data on ..., choose Delete It.

- Repeat the previous two steps until all the existing partitions on the disk drive are gone.
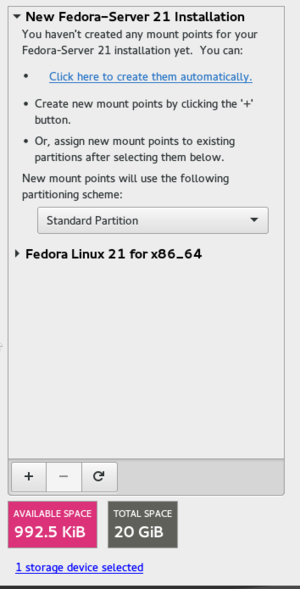
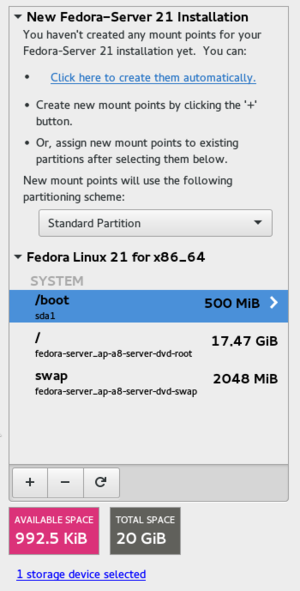
- Ensure the New mount points will use the following partitioning scheme: is changed to reflect Standard partition. Then select Click here to create them automatically. We STRONGLY advise against use of LVM or setting a /home partition.
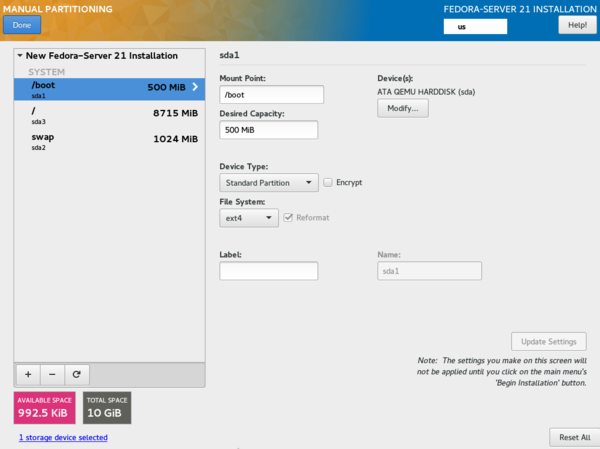
- The disk drive partition should look similar to this setup. For most users, then default partitioning scheme used will suffice. However, you can manually change it using the hard drive partition scheme documentation as a guide. Once complete, choose Done
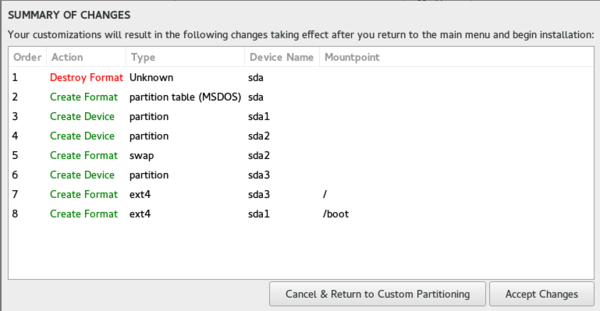
- You will now see SUMMARY OF CHANGES to the disk drive. Choose Accept Changes


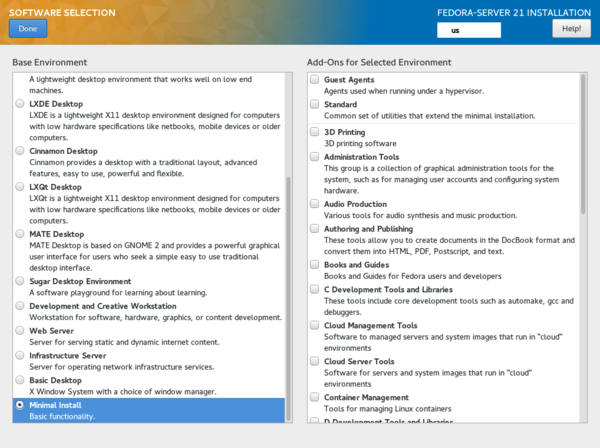
Software Selection
- Next on the INSTALLATION SUMMARY, select SOFTWARE SELECTION
- Scroll down and select Minimal Install and then choose Done


Begin Installation
- Back to the INSTALLATION SUMMARY and ready to begin installation. Select Begin Installation
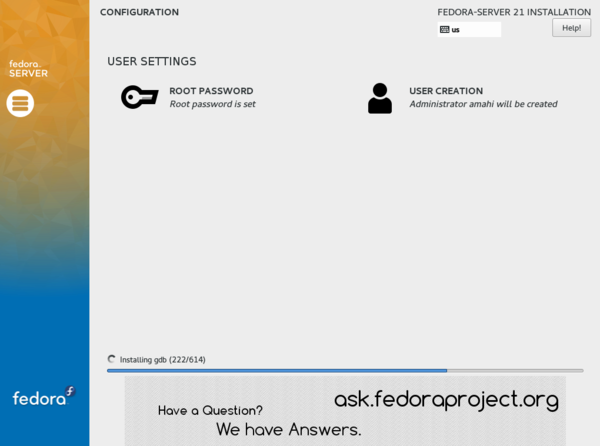
Initial User Creation
- Installation has begun and we need to create the initial user. DO NOT set the root password.
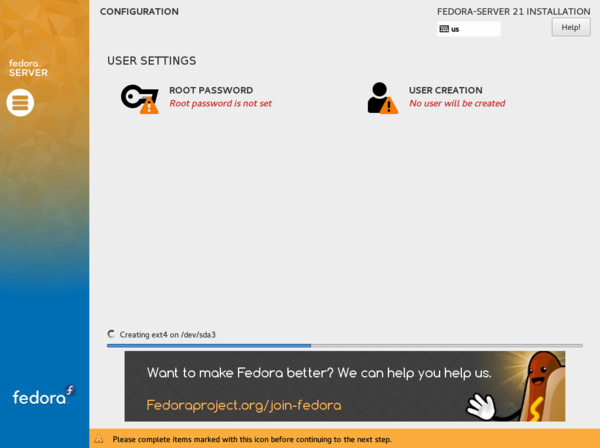
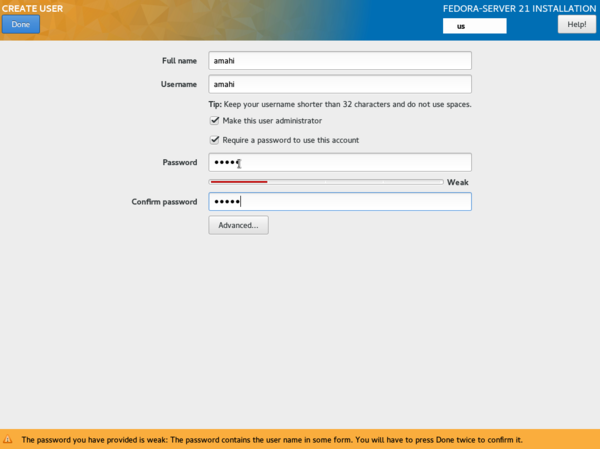
- You MUST create the initial user and password (This will be your HDA Login, also called the First Admin User). Ensure you select Make this user administrator check box. Once complete, choose Done. Note that a weak password may require you to select Done twice.


Installation Progress
- Now all of the configuration steps are complete. Sit back and watch the progress.

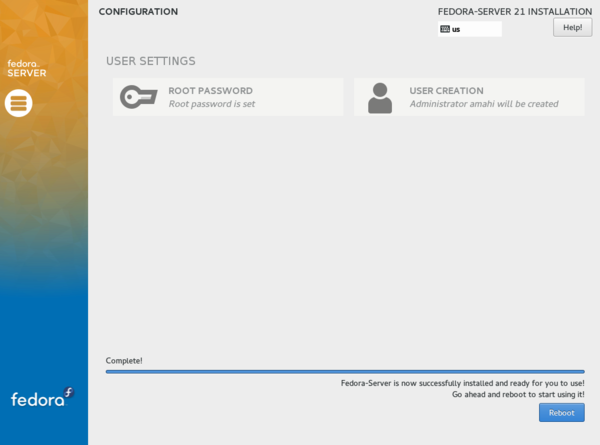
Installation Complete
- Installation is complete. Choose Reboot and remove the installation media.

Install Amahi 8
Next, install Amahi 8 proper on top of Fedora 21.
You need to obtain an install code (denoted YOUR-INSTALL-CODE below) from the Amahi control panel after configuring a profile for the system you are installing, with proper network configuration for your network.
From text console or using SSH, login with the user created in the Fedora 21 installation and become root for the Amahi installation
sudo su -
After that, type these commands in the console:
  rpm -Uvh http://f21.amahi.org/noarch/hda-release-6.9.0-1.noarch.rpm
  yum -y install mariadb-libs mariadb-server
  yum -y install rsyslog avahi
  yum -y install hda-ctl hda-platform
  hda-install YOUR-INSTALL-CODE
What this does is this: Installs the Amahi F21 repo, gets the mariadb base packages to avoid dependency conflicts, and installs base Amahi packages (that part should install several packages).
If there are no errors, install Amahi (replace YOUR-INSTALL-CODE above with install code you got when creating a profile at your Amahi control panel).
If all goes well, it should tell you to reboot. Go ahead and reboot!
Once it comes back from the reboot, you should have a fully functional home server using the IP address you set up in your network!
Next you need to transition your network to use it!
Transitioning to your Amahi server
Once installed, you will want to transition your network to using your Amahi server. Here are some of the things you should know:
- Your server will boot with the static IP you pre-configured in the Amahi control panel
- This is a headless server, therefore it will boot to a text console. There is no desktop user interface.
- It's strongly recommended you follow the transition to Amahi HDA guide to get your network fully working properly
- You can verify if the dashboard is available by accessing it from any client using the IP address of your server http://IPADDRESS/ or http://hda/ (in most Windows clients this works even without DNS from your HDA)
- The first time it will initialize, ask you to login, and enter a dashboard password. This is the First Admin User created earlier in the Fedora 21 installation.
- Once you reach your dashboard, you should create shares as needed, add more drives, install apps, etc., etc.
- Optionally refer to Greyhole to install/configure storage pooling.
Troubleshooting
Visit the troubleshooting page if you find yourself in trouble.
Reference
Refer to the HDA Admin How To page for Amahi Server administrator guidance.
Go back to the Amahi 8 Docs page.